


Ceiling fans are a simple and efficient way to maintain comfort at home. But if your fan starts to wobble, it can quickly go from helpful to annoying — and worse, that persistent shake can put strain on the motor, potentially shortening the fan's lifespan.
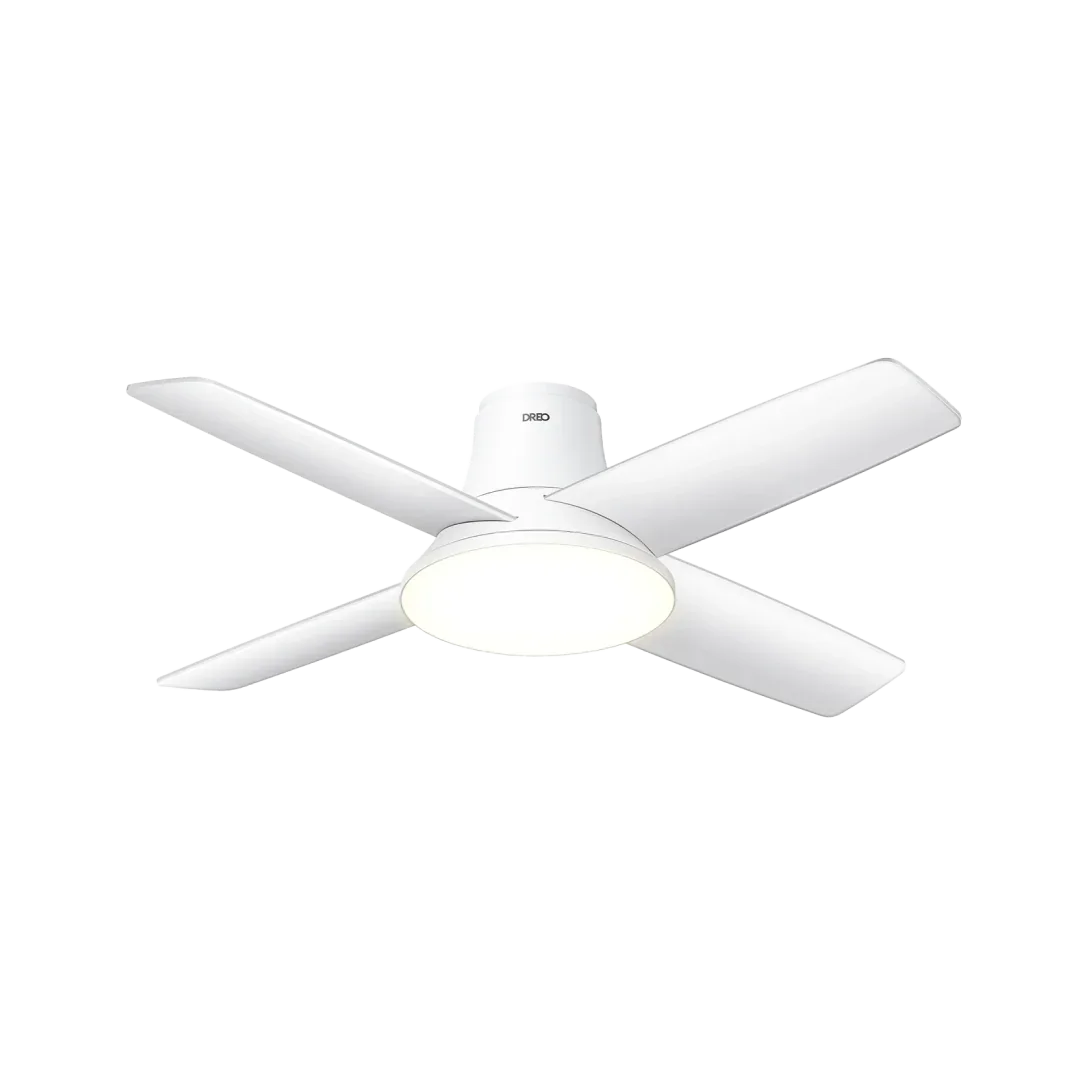
Thankfully, restoring balance to your ceiling fan is easier than you might think. With some care and a few basic tools, you can get your fan back to running smoothly. In this guide, we'll use the DREO Ceiling Fan 513 as our reference and walk you through the process.

What You'll Need
- Balancing Clip (usually included with the fan)
- Balancing Weights (also typically included)
- Sharp Knife or Razor Blade (for peeling off the weight backing)
- Sturdy Stepladder (for safe access)

🎉 DREO Pro Tips:
- Cut the Power: Always turn off the fan on the wall switch or circuit breaker before making adjustments.
- Use a Reliable Ladder: A stable stepladder helps you work safely and confidently.
- Check Wiring: Take a moment to inspect the area around the motor for any loose or exposed wires.
- Dry Hands Only: Ensure your hands are completely dry when handling electrical parts.
- Confirm Mounting Security: Make sure the fan is properly installed and secure before starting.
- Check Wiring: Take a moment to inspect the area around the motor for any loose or exposed wires.
Step 1: Locate the Wobble
- Turn your fan on and set it to the highest speed.
- Watch closely to see how and where the wobble occurs.
- Note whether the motion is side-to-side, front-to-back, or circular.
Step 2: Test with the Balance Clip
- Switch off the fan again.
- Choose one blade as your starting point.
- Attach the balancing clip about halfway between the blade's tip and where it connects to the motor, along the back edge.
- Turn the fan back on and see if the wobble improves or gets worse.

Step 3: Try Other Blades
- Turn the fan off again.
- Move the clip to a different blade and repeat the process.
- Observe each time the fan runs and record which blade shows the most noticeable improvement.
Step 4: Fine-Tune the Position
- Return the clip to the blade that gave you the best results.
- Adjust the clip slightly closer to the motor or farther out toward the blade tip, one small move at a time.
- Test after each adjustment to find the optimal position with the least wobble.
Step 5: Apply the Balancing Weight
- Once you've pinpointed the ideal spot for the clip, turn the fan off again.
- Remove the clip.
- Peel the adhesive backing off a balancing weight using your knife or razor blade.
- Stick the weight to the top of the blade, directly over the spot where the clip performed best, aligning it along the blade's centerline.
Final Thoughts
A shaky ceiling fan may seem like a small problem, but left unchecked, it can affect both performance and durability. With some patience and a methodical approach, you can bring back quiet, stable airflow in just a few steps.
Want a fan that delivers smooth, steady operation right out of the box? Explore the full range of DREO ceiling fans — crafted for efficient airflow and dependable performance.

