


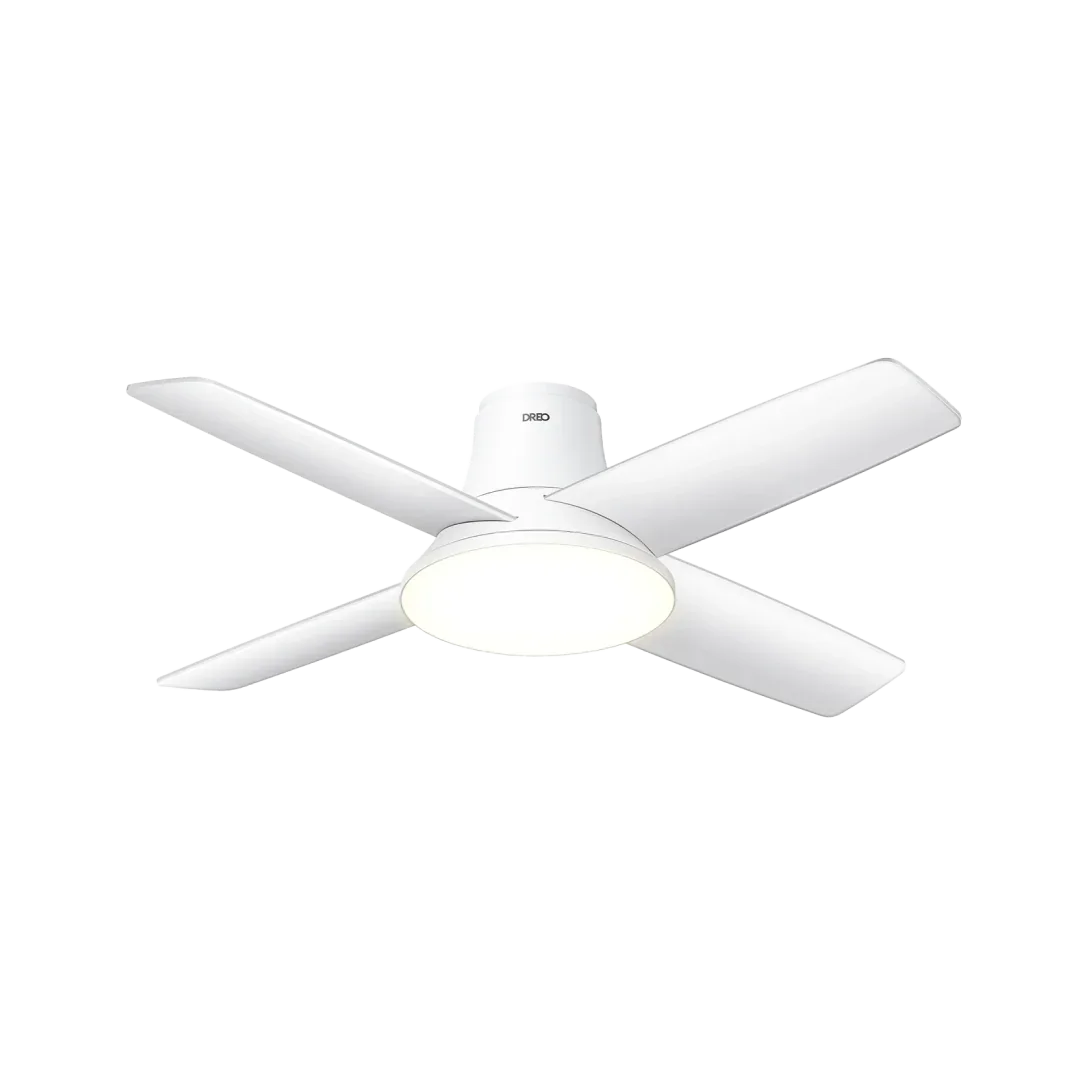
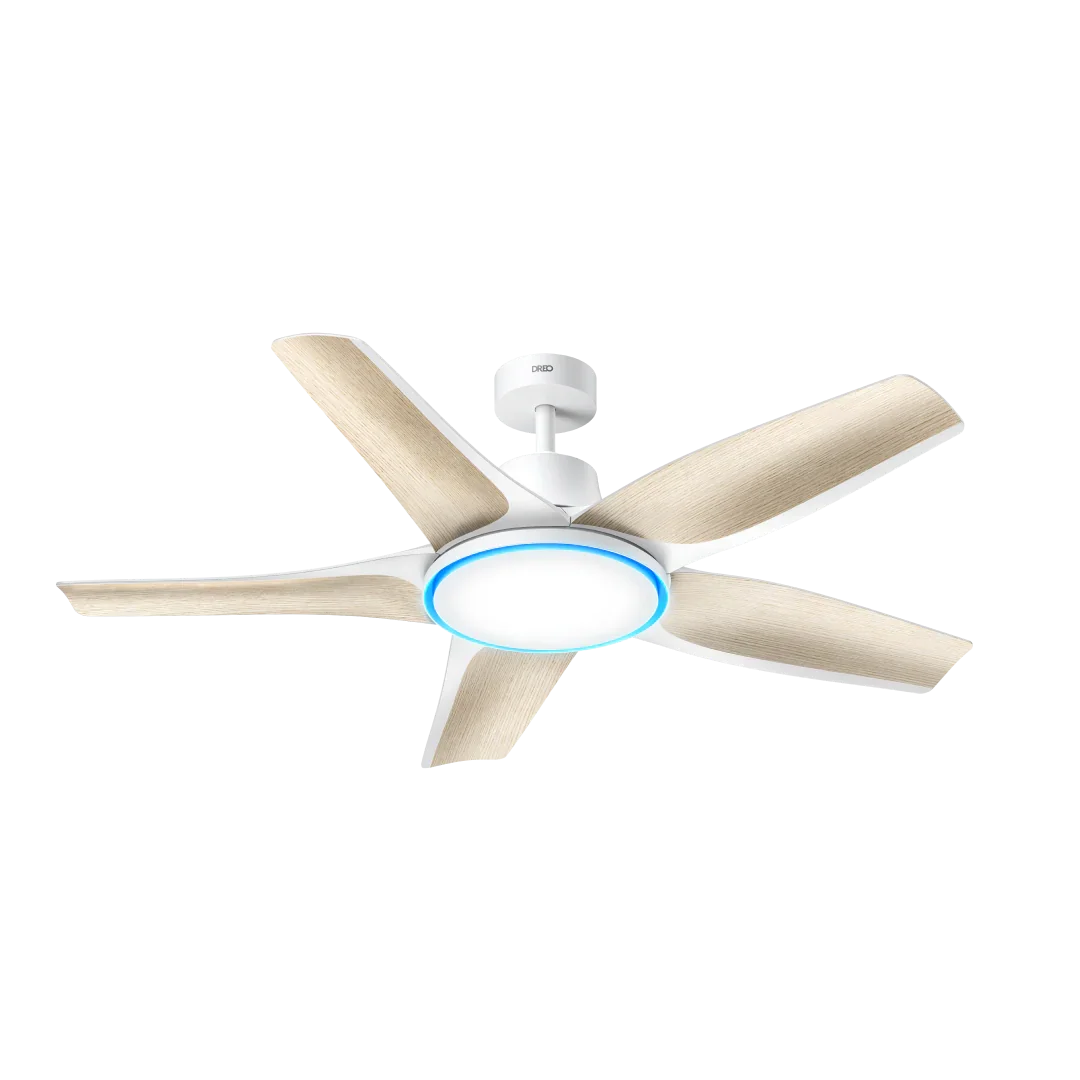
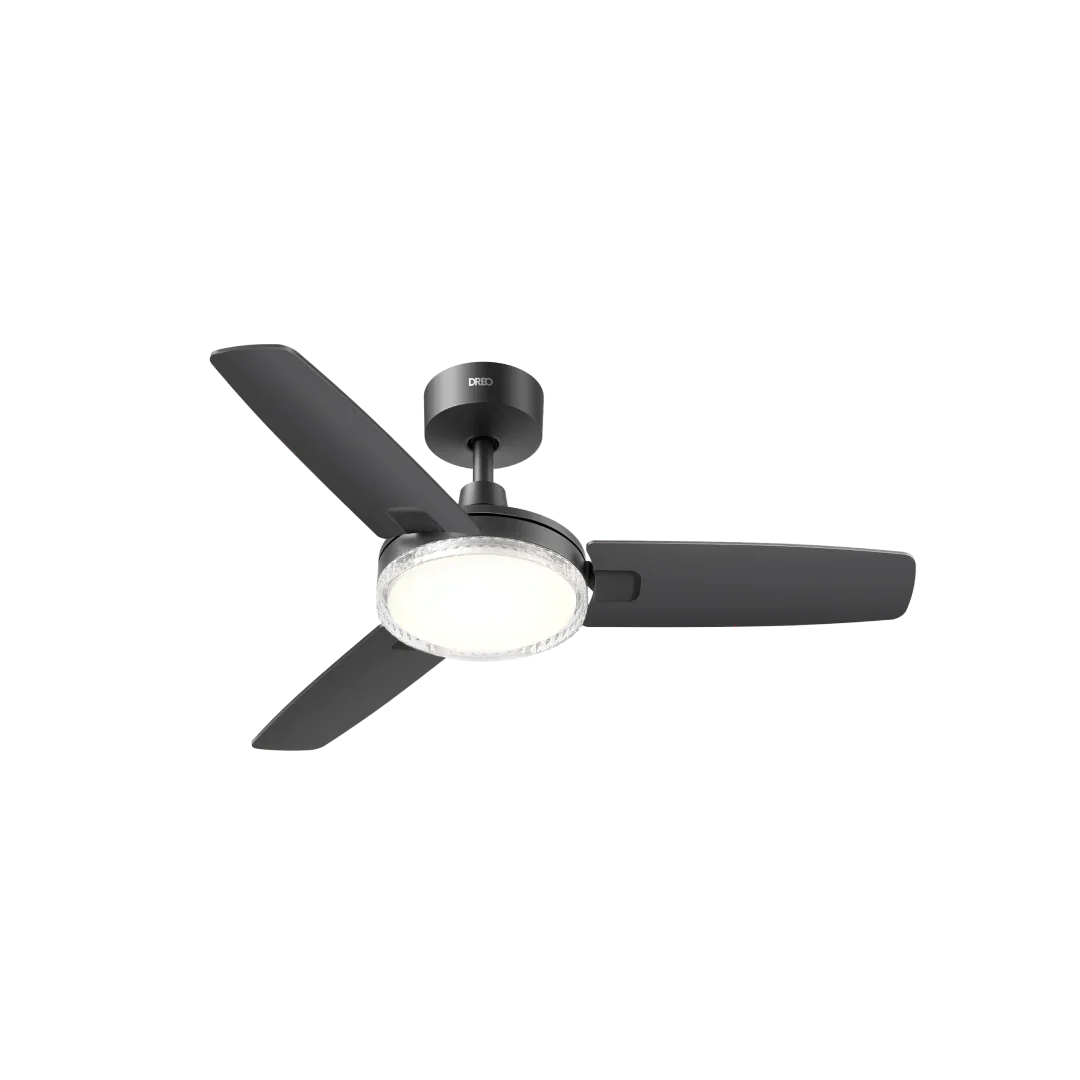
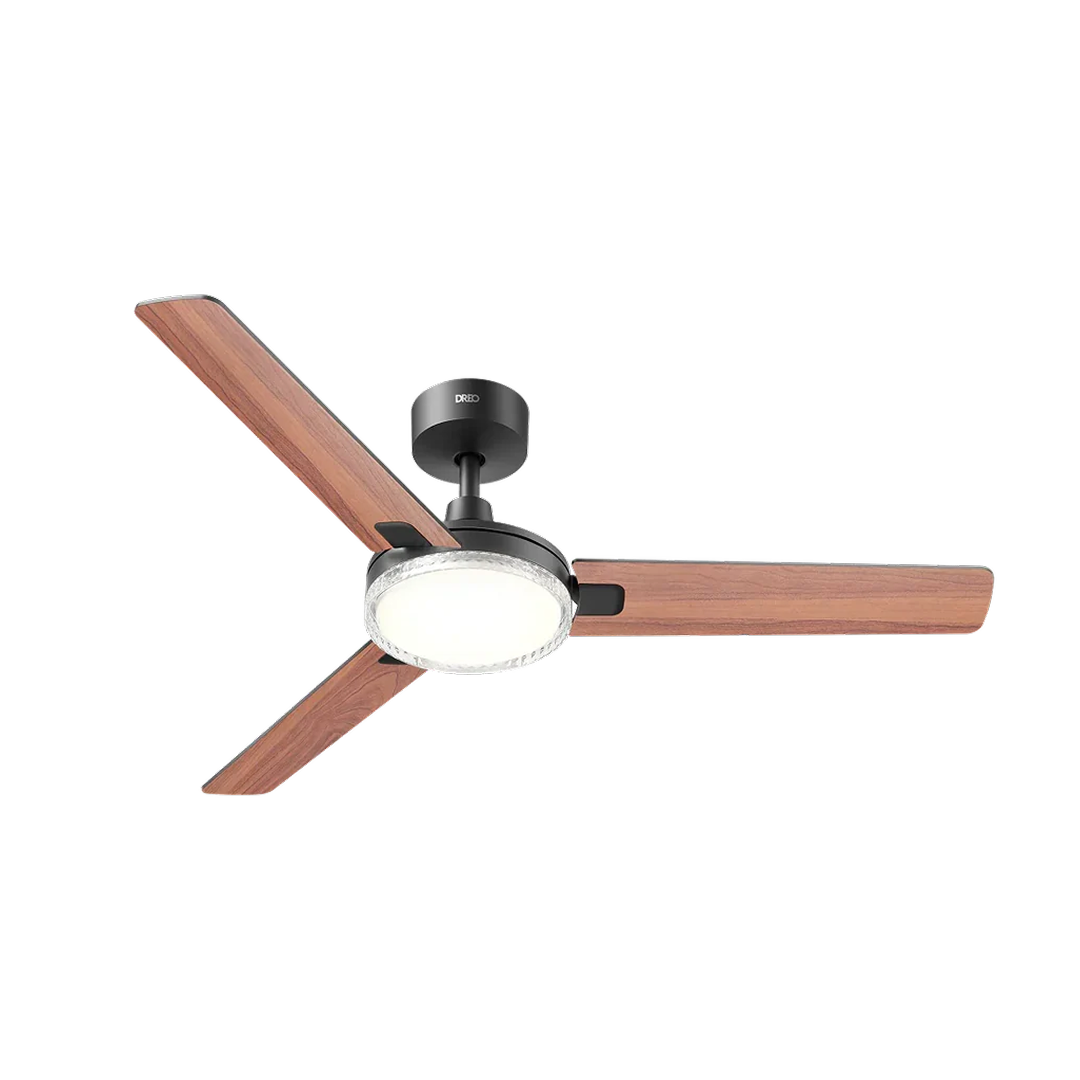


Installing the wiring for a ceiling fan with light can look intimidating, but if you're comfortable matching a few wires, you've got this. Whether you're swapping out an outdated fixture or installing a new fan to boost both airflow and lighting, this step-by-step guide will walk you through the process using examples from some of the easiest-to-wire models like the DREO Ceiling Fan 521S, 712S, and 513.
Tools You'll Need
- Ladder or step stool
- Wire stripper
- Screwdriver
- Voltage tester
- Wire connectors (typically provided with your fan)
Before You Begin: Safety First
Before you even touch a wire:
- Turn off the power at the circuit breaker. Do not rely on a light switch.
- Double-check with a voltage tester to make sure no electricity is flowing.
- Read the manual included with your DREO ceiling fan to understand the specifics of your model.
- Seek professional help if you're unfamiliar or uncomfortable with wiring; it's best to contact a qualified electrician for assistance.
Understand the Wiring Colors
Here's what you'll typically find in your ceiling fan setup:
- White — Neutral wire (also called grounded, it returns electricity to the panel)
- Black — Hot wire (also called ungrounded, it delivers power from the panel)
- Green, yellow-green, or bare copper — Ground wire (for safety)
Your DREO ceiling fan scome with pre-labeled and color-coded wires, making identification a breeze.
Step-by-Step Wiring Instructions
Step 1: Connect Neutral Wires
Link the white wire from your ceiling to the white wire from the fan. Twist them together using a wire connector. This completes the return path for your circuit.
Step 2: Connect Hot Wires
Link the black wire from the ceiling to the black wire on the fan. This supplies the power. Again, twist them securely with a wire connector.
Step 3: Connect the Ground Wires
Bundle together the green, green/yellow stripe, or bare copper wires from:
- The ceiling
- The downrod
- The hanging bracket
Fasten them with a connector. This step protects against electrical faults—never skip it!

DREO Safety Warnings
- To prevent SEVERE PERSONAL INJURY OR DEATH:
- Check the wall switch control to prevent severe personal injury or death.
- Wires MUST be connected as shown in the image above.
- All wiring MUST be in accordance with national and local electrical codes ANSI/NFPA 70. Contact a qualified electrician if you are unfamiliar with wiring or in doubt.
- DO NOT leave cables exposed.
- DO NOT let exposed cables be in contact with the downrod.
Common Pitfalls to Avoid
Even though wiring the DREO ceiling fans is easy, watch out for these common pitfalls:
- Mismatched colors: Always match white to white, black to black, and all grounds together.
- Skipping the ground connection: It's not optional—grounding is a critical safety measure.
- Loose wire nuts: Ensure all connections are snug and secure.
Mounting Your Fan
With the wiring out of the way, it's time to secure your ceiling fan in place:
-
For DREO Ceiling Fan 513:
- Align the three pre-loosened screws with the corresponding three L-shaped slots on the ceiling bracket.
- Slightly rotate counterclockwise to securely fasten them to the ceiling bracket.
- Reinstall and tighten the fourth screw in the oval slot.
- Attach both halves of the bracket cover by snapping them together over the ceiling bracket.

-
For DREO Ceiling Fan 521S / 712S:
- Twist the canopy clockwise onto the ceiling bracket until it clicks into place.

Connecting the Light Fixture
Every DREO model features an integrated LED light kit, eliminating the hassle of individual bulbs—just connect the unit and it's ready to go!
- For DREO Ceiling Fan 521S / 513S: Match the colored connectors from the fan body to the light module. Plug each one into its corresponding port. Rotate the light kit clockwise to securely fasten it into place.

- For DREO Ceiling Fan 712S: Use clear connectors for the main LED and solid white connectors for the RGB feature. Once connected, rotate the light unit clockwise until it locks into place.


This fan delivers a powerful 2400-lumen main light for clear, bright illumination and includes three dynamic RGB modes with up to 16 million color options. With full customization available through the DREO app, you can fine-tune the lighting to match any mood—whether you want crisp clarity or a burst of colorful ambiance, the possibilities are nearly endless.
Final Step: Test Everything
After everything's wired and assembled:
- Flip the circuit breaker back on.
- Use your wall switch or app to test both the fan and the light.
If both operate as expected, congratulations! You've successfully installed your ceiling fan with integrated lighting.
Final Takeaway
Wiring a ceiling fan with a built-in light doesn't require advanced skills—just careful attention and the right steps. Thanks to pre-labeled components and intuitive design, DREO ceiling fans make the whole process much more approachable for DIYers.
Now you're ready to enjoy the perfect combination of airflow and ambiance—all from your ceiling.
