












How to Remove a Fan from the Ceiling?


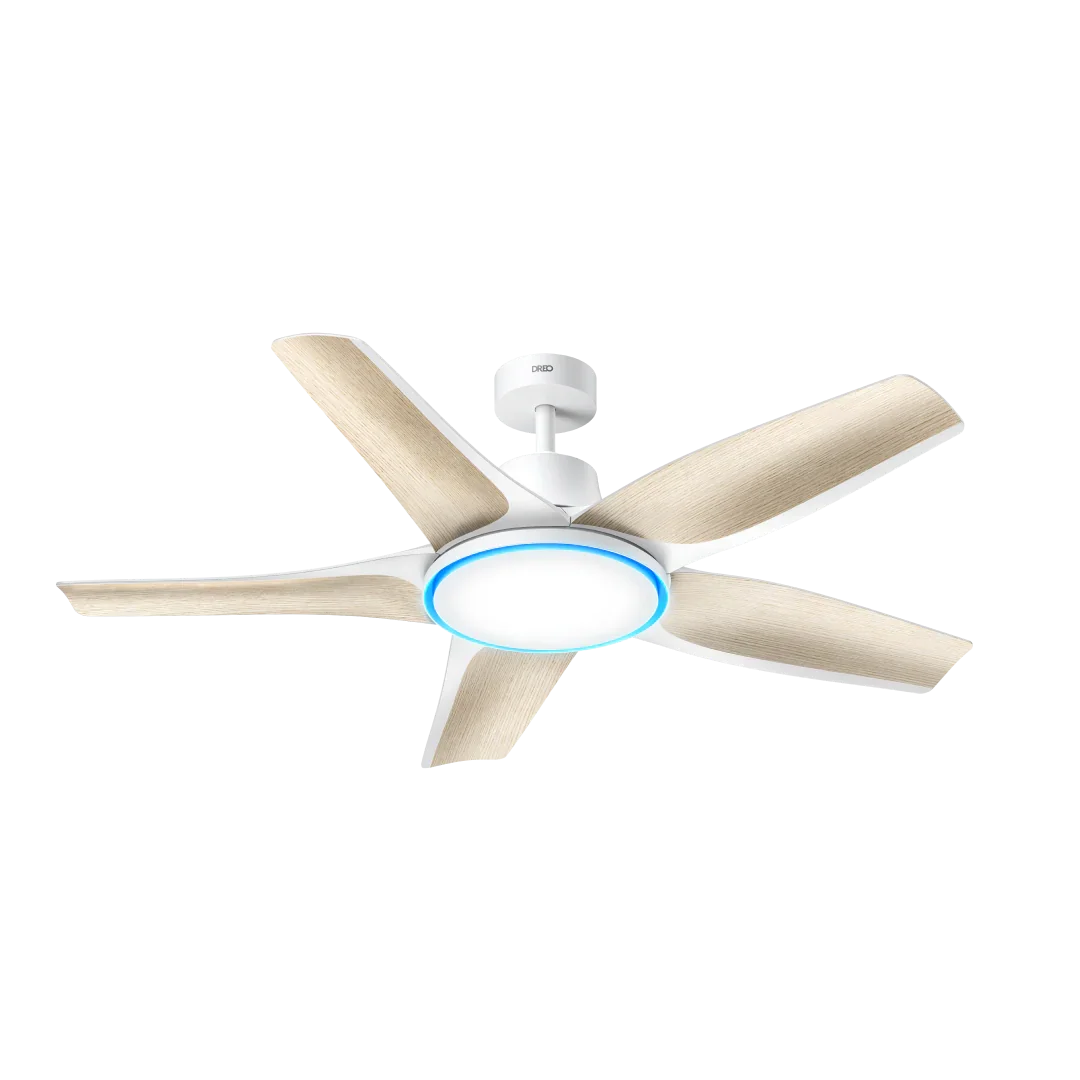
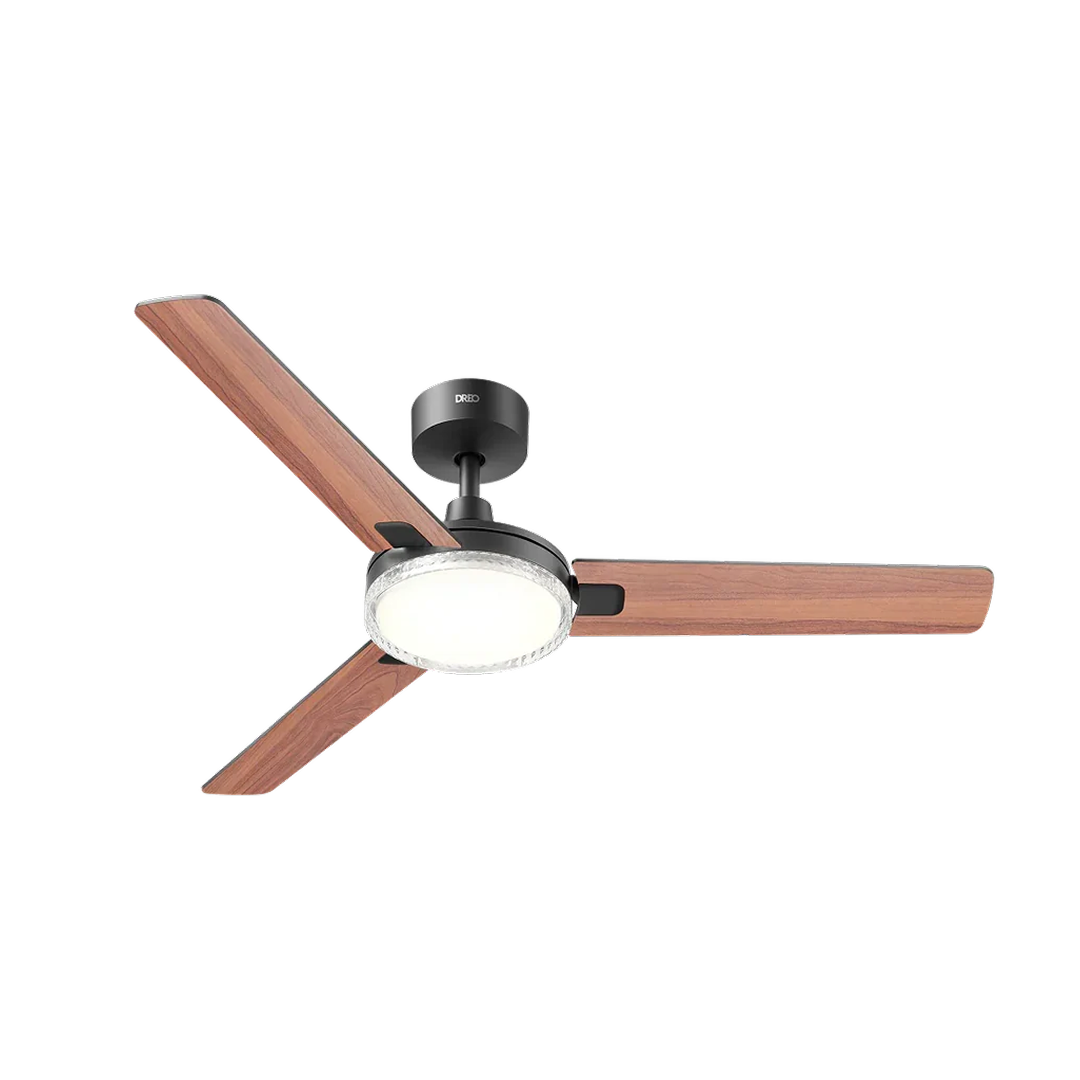
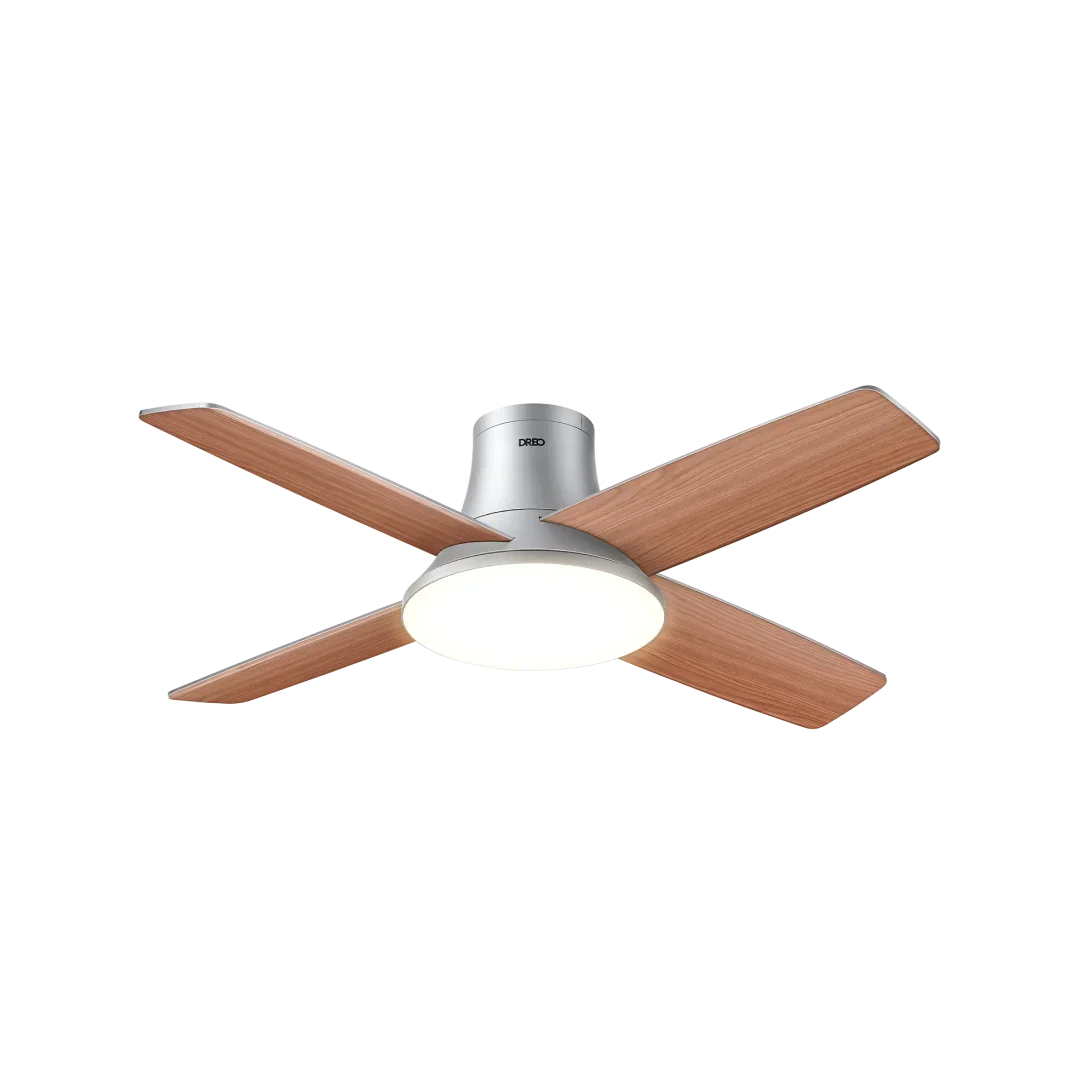
Ceiling fans are great until it's time to take one down. Whether you're moving, redecorating, fixing a wobble, or replacing it with a different style, removing a ceiling fan, especially with a hassle-free model like the DREO Ceiling Fan 521S, is a manageable DIY task when you follow the right order and don't rush the wiring step.

This guide walks you through the tools you'll need, the safety checks to perform, and the step-by-step process for taking down a ceiling fan safely and cleanly.
DREO Pro Tips
- Turn off the power: To reduce the risk of electrical shock, always switch off the circuit breaker controlling the outlet box connected to the wall switch before starting removal.
- Follow the manual: Refer to the manual included with your fan, as each model may have slight differences in hardware and wiring.
- Call a professional if needed: If you feel unsure at any point, especially when handling wiring, contact a licensed electrician.
- Double-check connections: Before finishing, confirm all ceiling wires are safely separated and properly capped.
- Clean after removal: Wipe down fan parts and the ceiling area to remove dust before storage or replacement.
What You'll Need
Before climbing the ladder, gather everything within reach:
- A sturdy ladder
- Phillips screwdrivers
- Voltage tester
- Wire strippers
Having the right tools on hand helps you work safely and avoid unnecessary trips up and down the ladder.
Safety First: Turn Off the Power
Any project involving ceiling wiring should begin at your home's electrical panel. Switch off the breaker that powers the fan's circuit. Don't rely on the wall switch, since ceiling fans often share circuits with lights or outlets.
Once the breaker is off:
- Test the wall switch to confirm the fan won't turn on.
- After exposing the wiring, use a voltage tester to ensure no current is present.
If you're unsure at any point, it's safest to call a licensed electrician.
Step-by-Step Guide to Removing a Ceiling Fan
1. Remove the Light Kit
- Support the light kit with one hand.
- Rotate it counterclockwise to release it from the fan body.
- With it supported, locate the wire connectors between the fan body and the light kit.
- Disconnect the matching-color wire connectors.
2. Remove the Fan Blades
- Support each blade with one hand.
- Locate the blade slots where they sit on vertical tabs in the fan body.
- Loosen and remove the screws and washers from each blade. Set them aside for later use.
- Lift the blade away from the fan body.
- Repeat these steps for all five blades.
3. Remove the Main Unit
Remove the Canopy
- Support the canopy with one hand.
- Rotate it counterclockwise (from below) to loosen it from the ceiling bracket.
- Lower it gently to expose the wiring and downrod connection.
Disconnect the Wiring
Once the canopy is lowered:
- Disconnect the white (neutral) wire between the ceiling and the fan.
- Disconnect the black (hot) wire.
- Disconnect all ground wires (green, green/yellow, or bare copper) from the ceiling, downrod, and bracket.
Make sure all exposed ceiling wires are capped separately.
Remove the Downrod from the Ceiling Bracket
- Lift the fan slightly to remove its weight from the bracket.
- Rotate the downrod until the ball slot aligns with the bracket's inner lock, reversing the assembly process.
- Lift the downrod ball out of the bracket.
- Carefully lower the fan assembly to the ground.
4. Remove the Ceiling Bracket
Depending on your installation, the bracket will be secured in one of two ways: machine screws (into a fan-rated outlet box) or wood screws with washers (into a support structure).
Option 1: If Machine Screws Were Used
(Bracket mounted to a fan-rated electrical box)
- Support the bracket with one hand.
- Remove the machine screws from the outlet box.
- Lower the bracket slightly to free it.
- Ensure the wiring is not caught or pulled.
Option 2: If Wood Screws and Washers Were Used
(Bracket mounted into structure around an approved electrical box)
- Support the bracket firmly.
- Remove the wood screws and washers securing it.
- Lower the bracket carefully.
5. Lower the Bracket and Free the Wiring
- Gently pull the bracket downward, guiding the wires through its center opening.
- Check that no wires are pinched or strained.
Once the bracket is removed, the ceiling area is fully clear and ready for inspection or installation of a new fixture.
6. Check the Ceiling Box
With the fan down, take a moment to check the condition of your ceiling's electrical box. Not all boxes are rated to support a ceiling fan's weight. If you plan to install another fan later, ensure the box is fan-rated. If it isn't, now is the perfect time to replace it while the area is clear.
Helpful Tips for a Smooth Removal
- Turn off the breaker before touching anything. Never skip this step.
- Keep all screws and small parts together to avoid losing them.
- Take your time when disconnecting wiring; slow and steady reduces mistakes.
- Always refer to your fan's specific manual (like the DREO Ceiling Fan 521S) for exact hardware details.
- If wiring or support structures look unusual or damaged, consult a licensed electrician.
Final Takeaway
Removing a ceiling fan doesn't need to be overwhelming. With the right tools, a few safety precautions, and a clear order to follow, you can safely and confidently take a fan down from your ceiling. If you are planning a replacement, exploring DREO ceiling fans is an easy way to find quiet performance, modern design, and reliable everyday comfort.


